Application instructions - all nationalities
Visa applications are never fun, but if you know what steps to anticipate, it doesn’t have to be complicated.
In this chapter, we will walk through where to fill out the application form, what supporting documents to gather, and how to submit everything.
1. Check the quota
First, you may want to first confirm with the Chilean embassy to your country that the annual WHV quota for your nationality has not yet been reached. Here are the annual quotas for a few nationalities:
- Australians: 3,400
- Canadians: 750
- French: 400
- Irish: 200
- New Zealanders: 940
Annual quotas do not change significantly year to year, if at all.
If there are no more available spots left, unfortunately you will have to wait until the following program year to apply. For the best chances, apply early in the program year, as applications are processed on a first come first serve basis.
2. Start the online application form
You can start your application online on Chile’s Portal de Trámites Digitales. It is only available in Spanish.
Create an account by clicking on Crear cuenta.
Once your account is created, click on the salmon coloured Residencia Temporal on the home page.

And then click on Iniciar trámite at the bottom of Residencia Temporal en el extranjero.
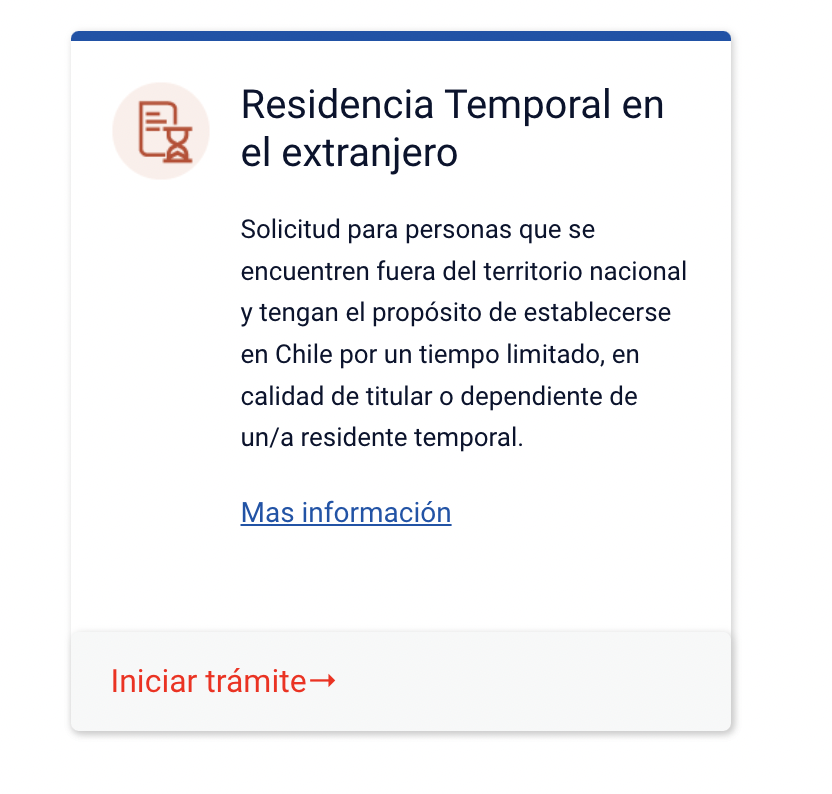
Login again if required (Iniciar sesión), and then click on the green button that says Realizar este trámite to start your application.

From here, fill out the application honestly and to the best of your ability.
You will be asked for your level of education and previous work experience, but those should not impact your application to become a working holiday maker.
3. Upload supporting documents
After the application form, you will be prompted to upload some supporting documents. The exact list might differ slightly for your nationality, but will generally include:
- Scan of your passport.
- Proof of adequate travel medical insurance. (Have questions? Read insurance FAQs.)
- Proof of sufficient savings.
- Proof of a return/onward ticket (or additional funds to purchase a ticket at the end of your stay).
- Proof you have good health (usually a medical certificate) and no criminal record (usually a police certificate).
For health insurance, we’ve been recommending
Globe WHV since 2005. They have insured thousands of working holiday makers around the world, including many who have gone to Chile.
Learn more.
When asked for your visa category, be sure to SELECT THE CORRECT ONE. Working Holiday should show up under Tratados Internacionales (international treaties).
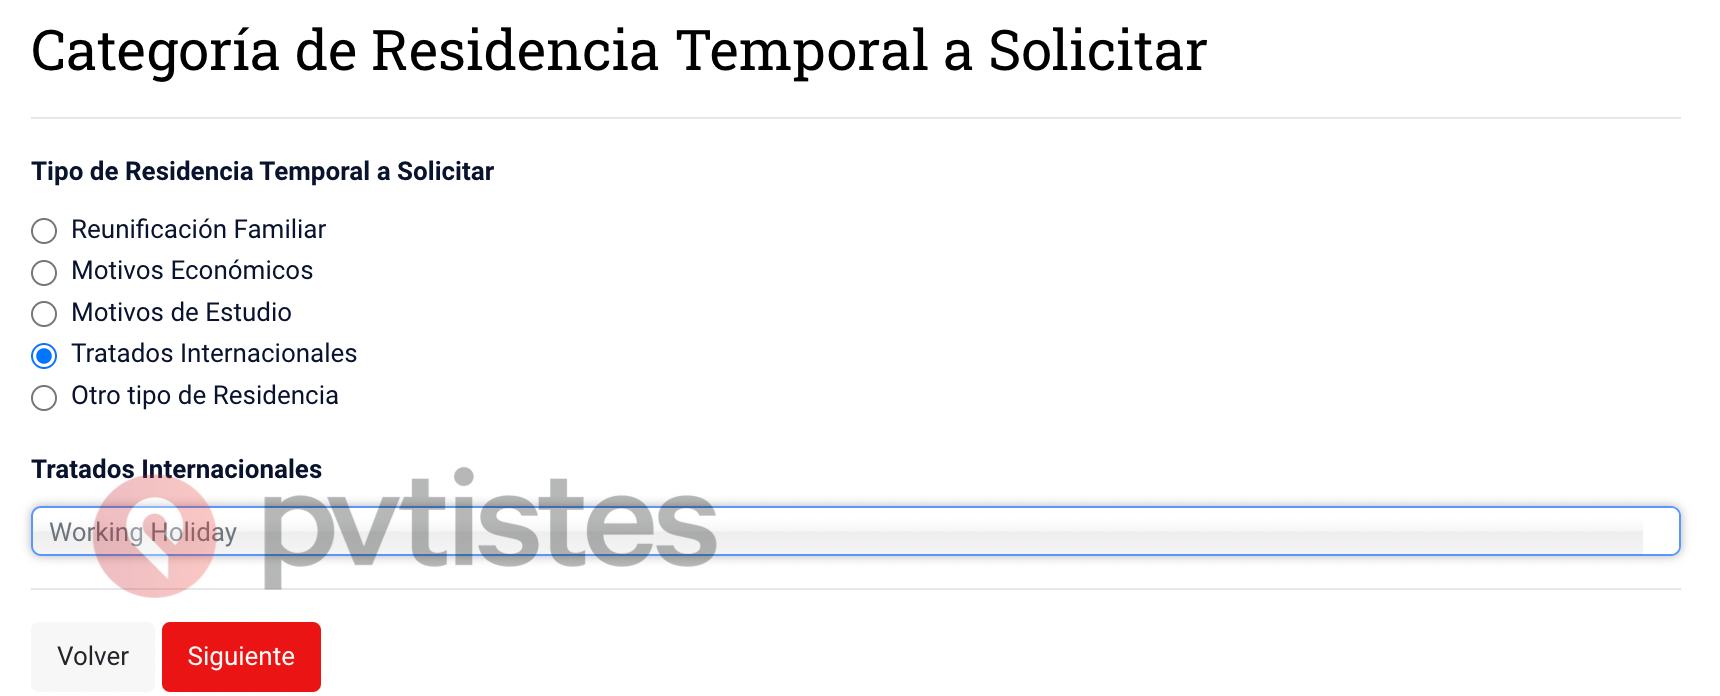
Once you’ve fully reviewed everything for completeness and accuracy, you will be prompted to pay the visa fee. Finally, submit your application.
4. Await approval
Once your application is approved, you will receive two PDF documents with the following header.
You have 3 months for your initial entry into Chile. Make sure to print and bring both documents with you, as they serve as proof of your WHV.






0 comments
{{like.username}}
Loading...
Load more