


Filling in your New Zealand Traveller Declaration via the mobile app
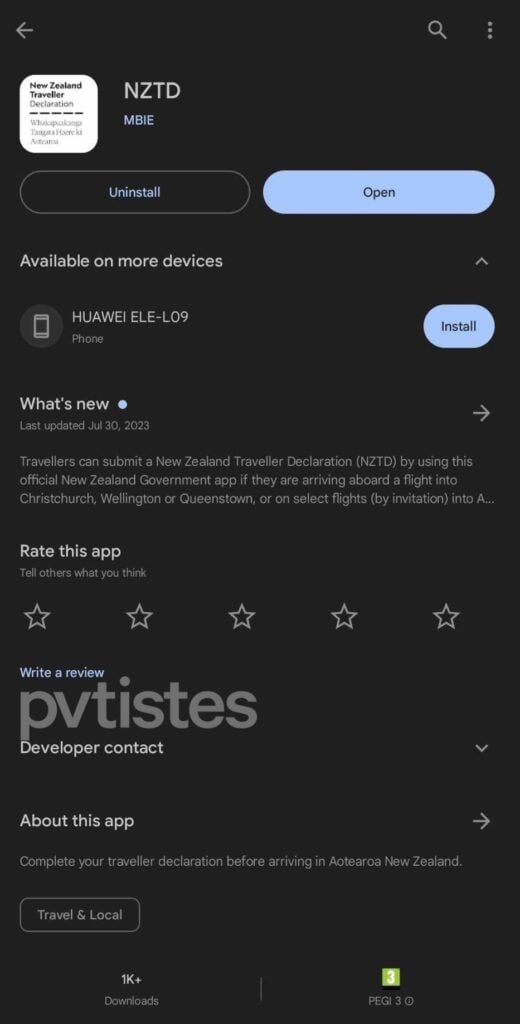
Step 1: open the app
You can fill in your New Zealand Traveller Declaration via the mobile app, which you can download on the official New Zealand Traveller Declaration website.
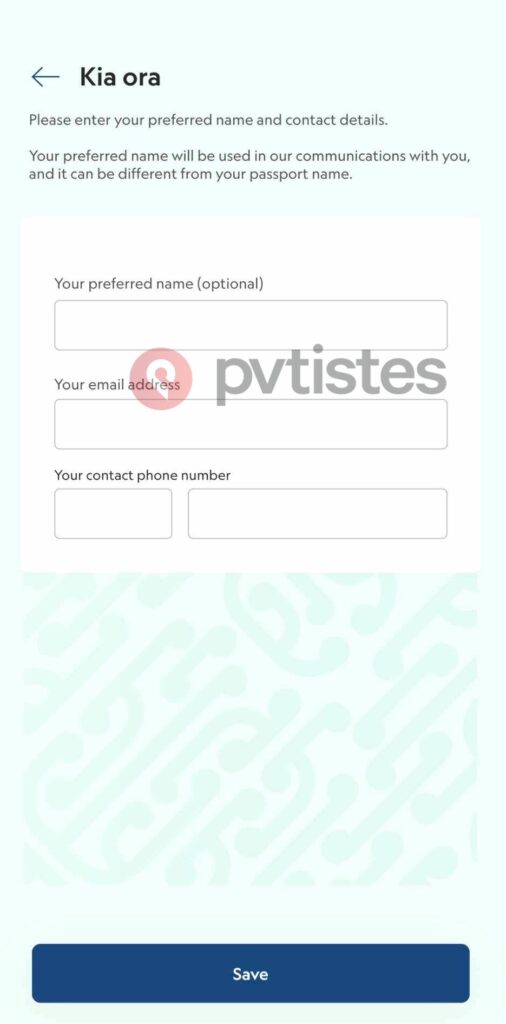
When you open the application for the first time, you will be asked to enter your personal details.
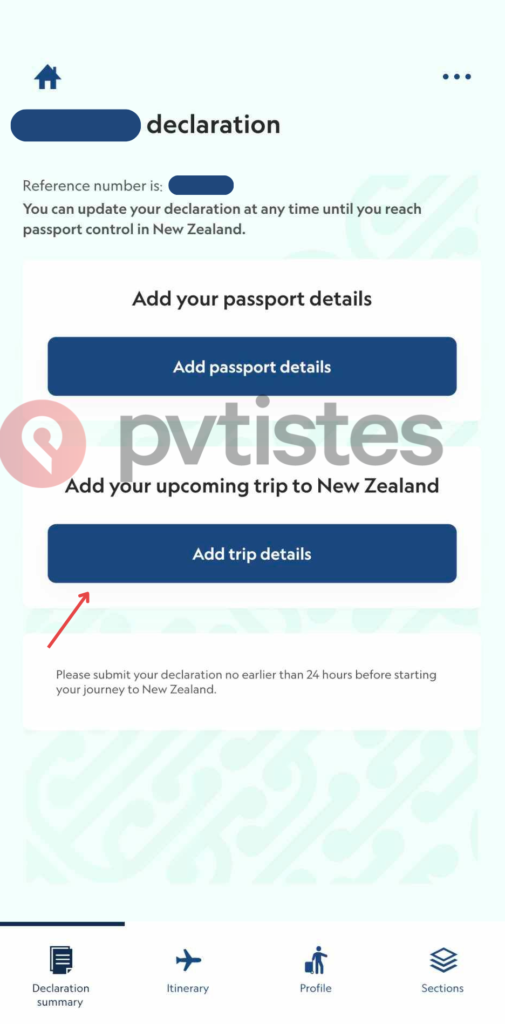
Once you’ve filled in your details, you will be taken to your home page. This is where you can fill in your travel declaration by clicking on “Add trip details.”
Step 2: fill in your trip information
On this first page of the declaration form, you will need to enter your date of arrival in New Zealand, as well as the flight you will be travelling on. Remember, you cannot complete the form more than 24 hours in advance.
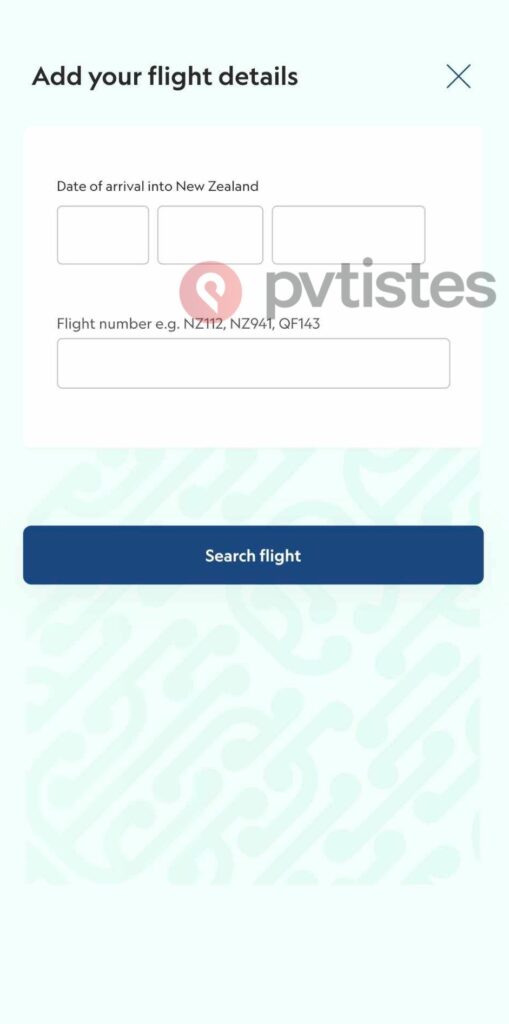
If the app cannot find your flight, don’t panic! You can fill it in manually following the error message.

Step 3: scan your passport
Then it is time to fill in your passport details. You can scan it or fill in your details manually.
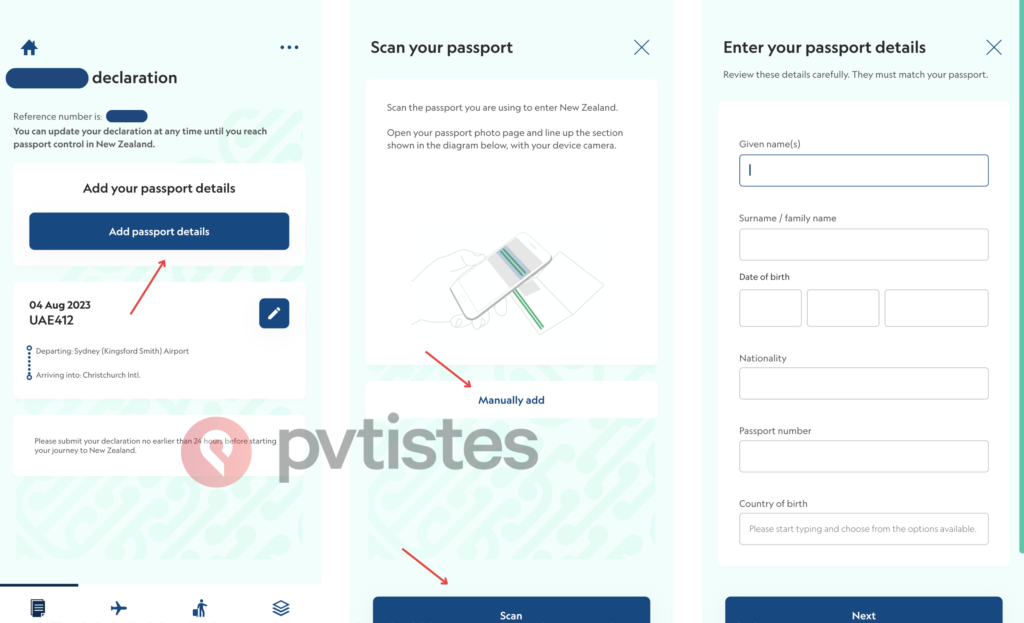
Once you’ve filled in the general information, you can complete the rest of the declaration. Each section will be displayed on the homepage.
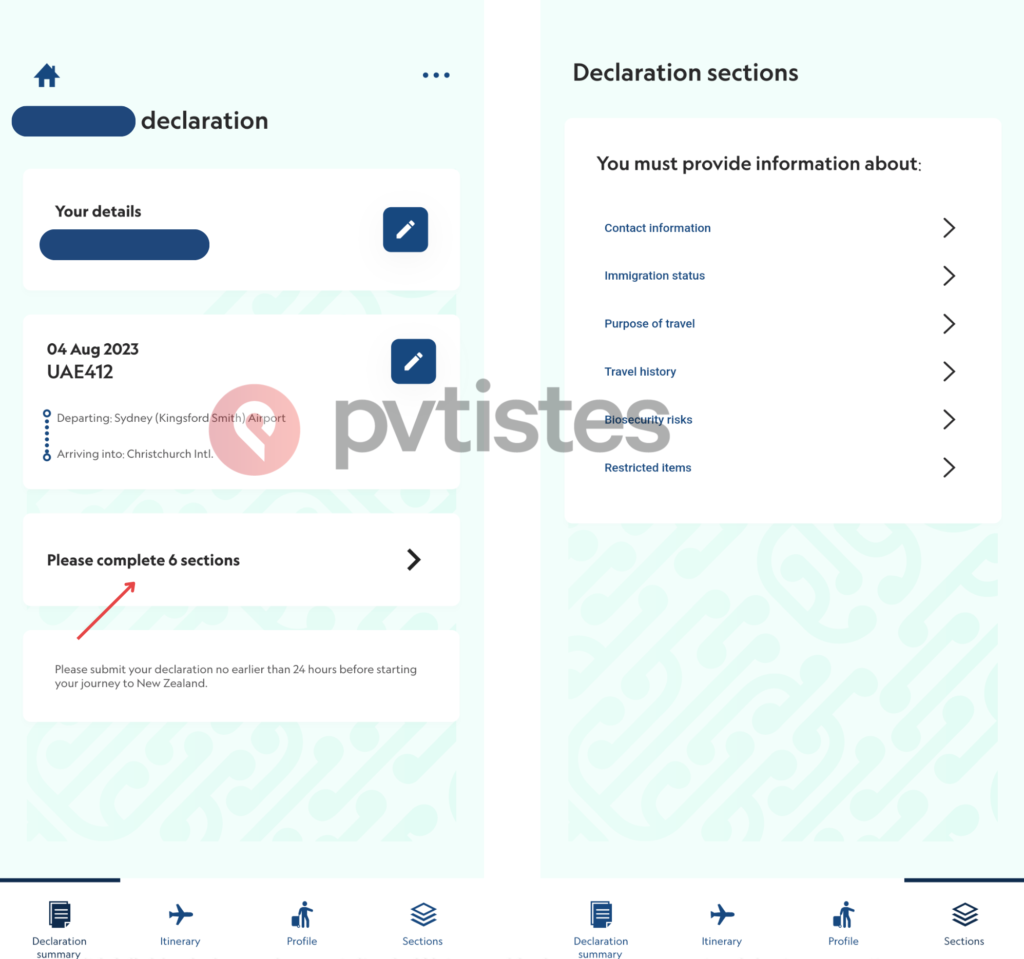
Step 4: complete the sections
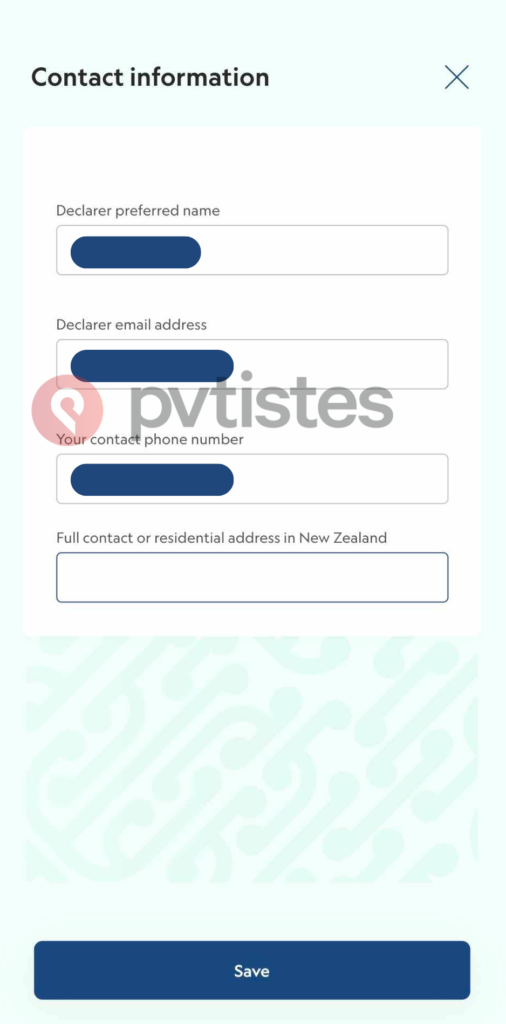
Section: “Contact information”
Most of this information will be auto-completed, but you’ll need to add a contact address in New Zealand. This could be your hostel, Airbnb, a friend’s address, etc.
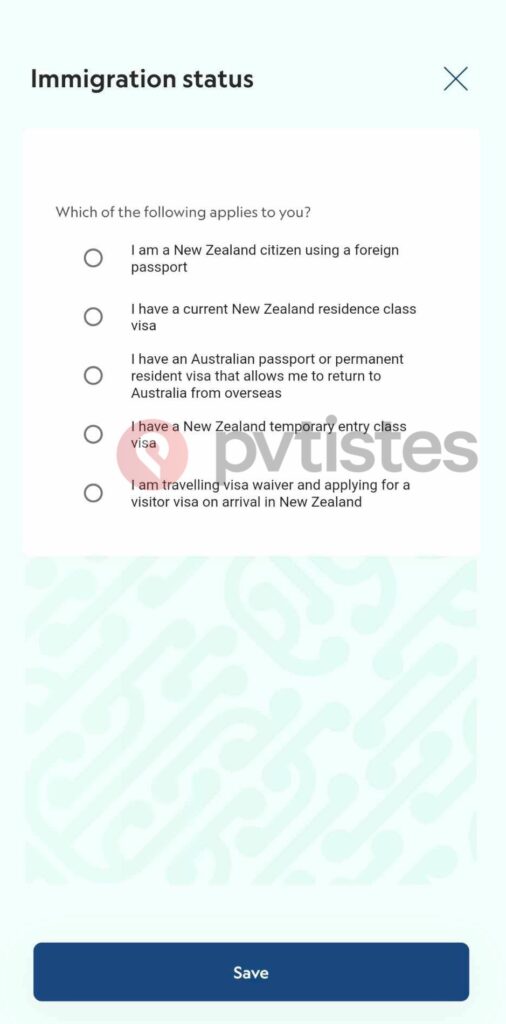
Section: “Immigration status”
Next, you will need to select your immigration status. If you’re travelling on a WHV, select “I have a New Zealand temporary entry class visa.”
Section: “Purpose of travel”
Here, the authorities want to know why you are coming to New Zealand.
They will first ask you if you live in New Zealand and if you intend to stay permanently. Answer no to these 2 questions.
You will then be asked how long you wish to stay in New Zealand. This is only for general information, so it does not matter if you do not have an exact return date yet. If in doubt, indicate around 11 and a half months from today’s date on the declaration.
Then choose the main reason why you are in New Zealand. You can select “vacation” or “other”.
You’ll need to enter the last country in which you lived for 12 months or more, as well as the state/province/county, and postal code.
Lastly, enter your occupation.

Section: “Travel history”
In this section, indicate the countries you have visited in the last 30 days. This also includes any layovers you may have had, even if you did not leave the airport.

Section: “Biosecurity risks”
This section is probably the most important, and the one New Zealand will be the most strict on. It is important to declare EVERYTHING to the authorities, or you risk being fined.

Section: “Restricted items”
After the biosecurity section, you will need to declare all your restricted goods. Once again, it is better to declare something “just in case” than to declare nothing at all.

Find out what you are allowed to bring into New Zealand by consulting our guide.
Step 5: submit your declaration
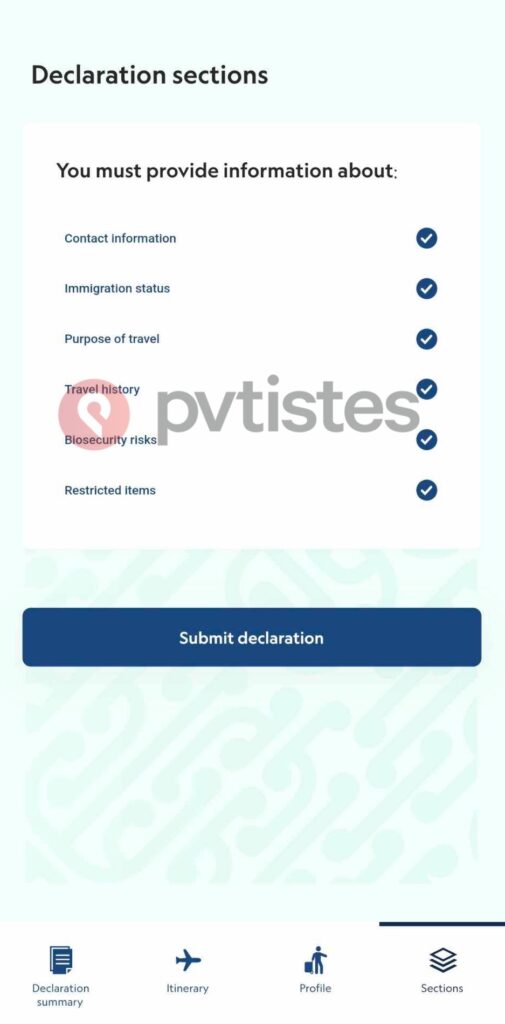
Once a section has been completed, a tick will appear on the right-hand side of the screen. Once all the sections have been completed, you can submit your declaration to the New Zealand authorities.


0 comments
{{like.username}}
Loading...
Load more