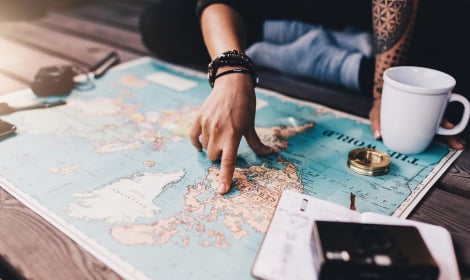


Arrival in New Zealand, customs and biosecurity
All flights arriving in New Zealand play a video onboard called “Declare or Dispose” that explains entry into the country. It explains what items passengers can and cannot bring, as well as those that must be declared.
If you notice that you have an item that is deemed prohibited in the video, don’t worry. The airport provides amnesty bins prior to entry into the country. You may dispose of those items in these bins and no one will ask any questions. If you are unsure, you can ask an agent in charge of biosecurity.
The list of items that must be declared can be found on the Biosecurity website.
There are 3 steps involved in entry to New Zealand:
- Immigration
- Baggage claim
- Customs and biosecurity check
1. Immigration
You must fill out the New Zealand Traveller Declaration (NZTD) either online or via the app. You can submit the form 24 hours before your planned arrival. If you do not want to complete the NZTD electronically, you can obtain a paper form from near the customs booths when you arrive. Read our tutorial to see how to fill out the NZTD correctly.
New Zealand authorities need to know where you have physically been in the months preceding your arrival, if you visited any farms, if you did any hiking, if you have certain equipment such as a tent, or any declarable goods. You must complete this form before reaching passport control. Your NZTD will be associated with your passport.
If you have any products that require declaration but you do not wish to declare for any reason, they must be disposed of in an amnesty bin. If you choose not to declare and are caught with undeclared or prohibited items, you will face a hefty fine.
Working Holiday Visa holders are encouraged to use the automatic booths where their passports will be read and their WHV registered. If there are no machines available or if the automatic booth fails to recognize you, you will be redirected to an immigration agent. If this happens, you may be asked to show your proof of funds or proof of insurance.
If you use an automatic booth, your passport will not be stamped. This is normal; do not be surprised! However, we recommend that you keep your boarding pass. This can serve as proof of your date of entry into New Zealand, should you ever need to show proof to your insurance provider during your stay.
Note: If an employer wishes to verify your authorization to work in New Zealand, they can do so by visiting Visa View.
2. Baggage claim
Now you will pick up your checked bags from baggage claim. There may be canine officers sniffing the bags for security reasons. Do not try to touch or pet them!
3. Customs and biosecurity
There are two possible scenarios:
-
If you declare nothing on your NZTD that requires a deeper search, you will be able to put your bags through the X-ray scan and then leave the airport with them.
-
If you declare any food or outdoor equipment, the agents will ask you to join a special line where you will open your bags for a full inspection. Your bags will then pass through X-ray. This process is normally not much longer than the first scenario, but make sure your declared items are easily accessible.
If the agents need to conduct a cleaning of any of your items, you will need to wait outside until it’s done. You may be responsible for the cleaning fees.
How long does this all take?
Usually, it shouldn’t take more than one hour to leave the airport. But, of course, if cleaning or confiscation of items takes place, then it will take longer to be cleared by biosecurity.


0 comments
{{like.username}}
Loading...
Load more