


- Chapter 1: Introduction to the IEC program
- Chapter 2: Create your IRCC account
- Chapter 3: Submit your profile to the pools
- Chapter 4: The Invitation to Apply (ITA)
- Chapter 5: Complete your application — Fill in applicant details
- Chapter 6: Complete your application — Upload supporting documents, submit and pay
- Chapter 7: Biometrics
- Chapter 8: Await approval, activate IEC permit
Create your IRCC account
Once you’ve decided that you’d like to apply for IEC, the first thing that you need to do is to create your account on the official website.
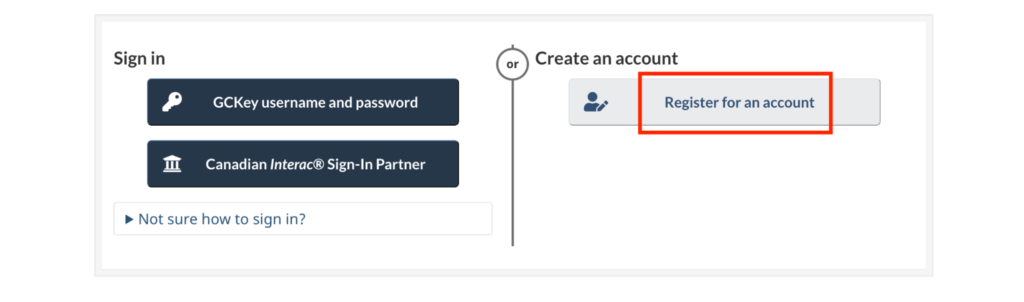
Go to Immigration, Refugees and Citizenship Canada. Create an account by clicking “Register for an account”:
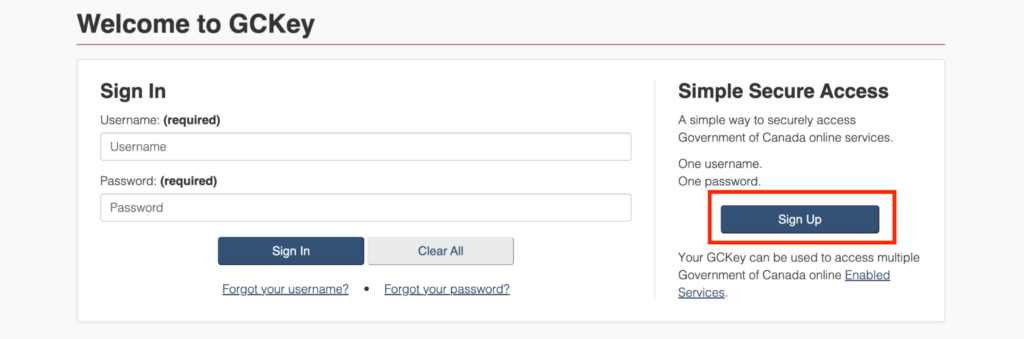
Choose the option to register with GCKey, then click “Sign up”:

From here, choose your login credentials and answer the questions.
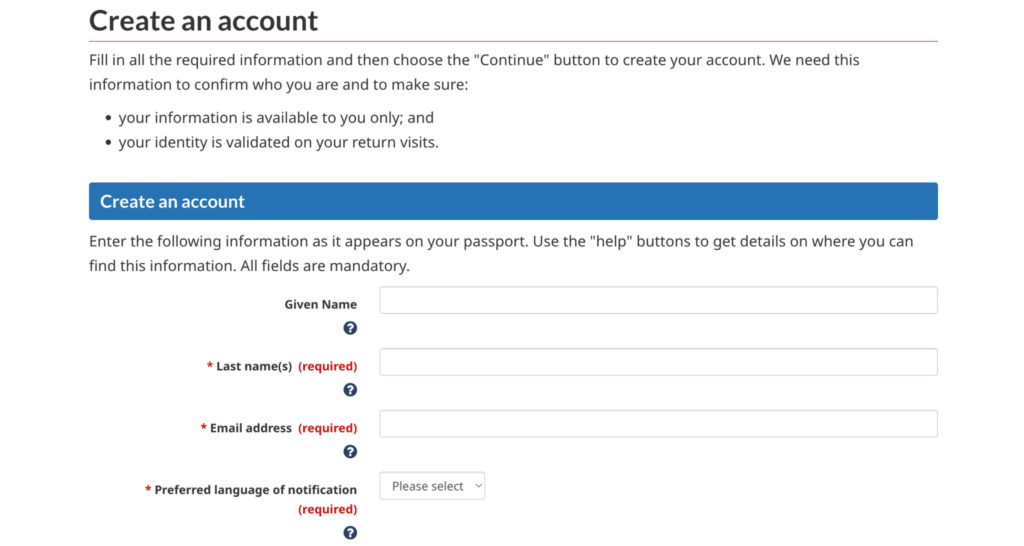
Once you set up your credentials and verify your email, you will need to log in to complete the remaining steps by entering some personal information.
The first page will ask you to add your names (as they appear in your passport), email address, and preferred language of contact (English or French):
The second page consists of security questions that you must answer. Make a note of the answers you give; you will need your security questions and answers later in the application process.
Once you’ve finished, you’ll be taken to the IRCC homepage. You’ve successfully created your account! Now, continue to the next chapter to learn how to complete your profile and submit it to the pools.


(4)Comments
At the end of every season the pools are emptied and you have to make a new inscription the next season. Yes, in general season stops around october/november and the new season starts end of december, beginning of january.
To ask a whv in Canada Italian have de be resident in Italie. IRCC says : "prove that you are a resident of Italy at the time of submitting your application;"
So for you its better to mention Italie as country of residence and not the Netherlands. If you mention the Netherlands you won't be able to enter the pool.
{{like.username}}
Loading...
Load more