


Did you receive a POE Letter of Introduction? Congratulations! That means your IEC application has been approved. Now you just need to activate your IEC permit within 12 months.
Unless you are already living in Canada with another IEC permit, you’ll need to obtain your new IEC permit by flying to Canada and going through Canadian immigration.
In this article, we’ll walk you through all the steps and requirements to be aware of when flying to Canada to activate your IEC permit.
Buy a flight to Canada
The first step to flying to Canada is… buying a plane ticket to Canada!
Within 12 months of receiving your POE Letter of Introduction, you need to enter Canada to obtain your IEC permit. If you wait longer than 12 months, then your POE letter will expire and you can no longer use it to obtain an IEC permit.
When choosing your flight, there are two considerations to be aware of:
- We recommend that you avoid transiting through the US, even for a layover. We explain why in Travelling to Canada for IEC: Direct Flights vs US Transit.
- You will go through Canadian immigration at your first point of entry into Canada. That is, the first Canadian airport where you land. That means if you have a domestic layover in Canada, you should allocate enough time between your flights. We recommend 3 hours to be safe.
For tips on how to get a good deal on a flight, read Buying your plane ticket.
Bring necessary documents
The four most critical documents that you’ll need in order to enter Canada and obtain your IEC permit are the following:
- Port of Entry Letter of Introduction
- Passport valid for the full duration of your IEC permit
- Proof of adequate medical insurance for the full duration of your IEC permit
- Proof of savings equivalent to at least
– CA$2500 if you have a return flight
– CA$2500 + price of return flight if you don’t already have a return flight
If you fail to present any one of them, you could
- Be denied your IEC permit,
- Have a shortened IEC permit, or even
- Be refused entry to Canada.
In addition to those documents, it is also a good idea to bring a copy of the supporting documents you had submitted as part of your application, even if it is unlikely that you will be asked for them.
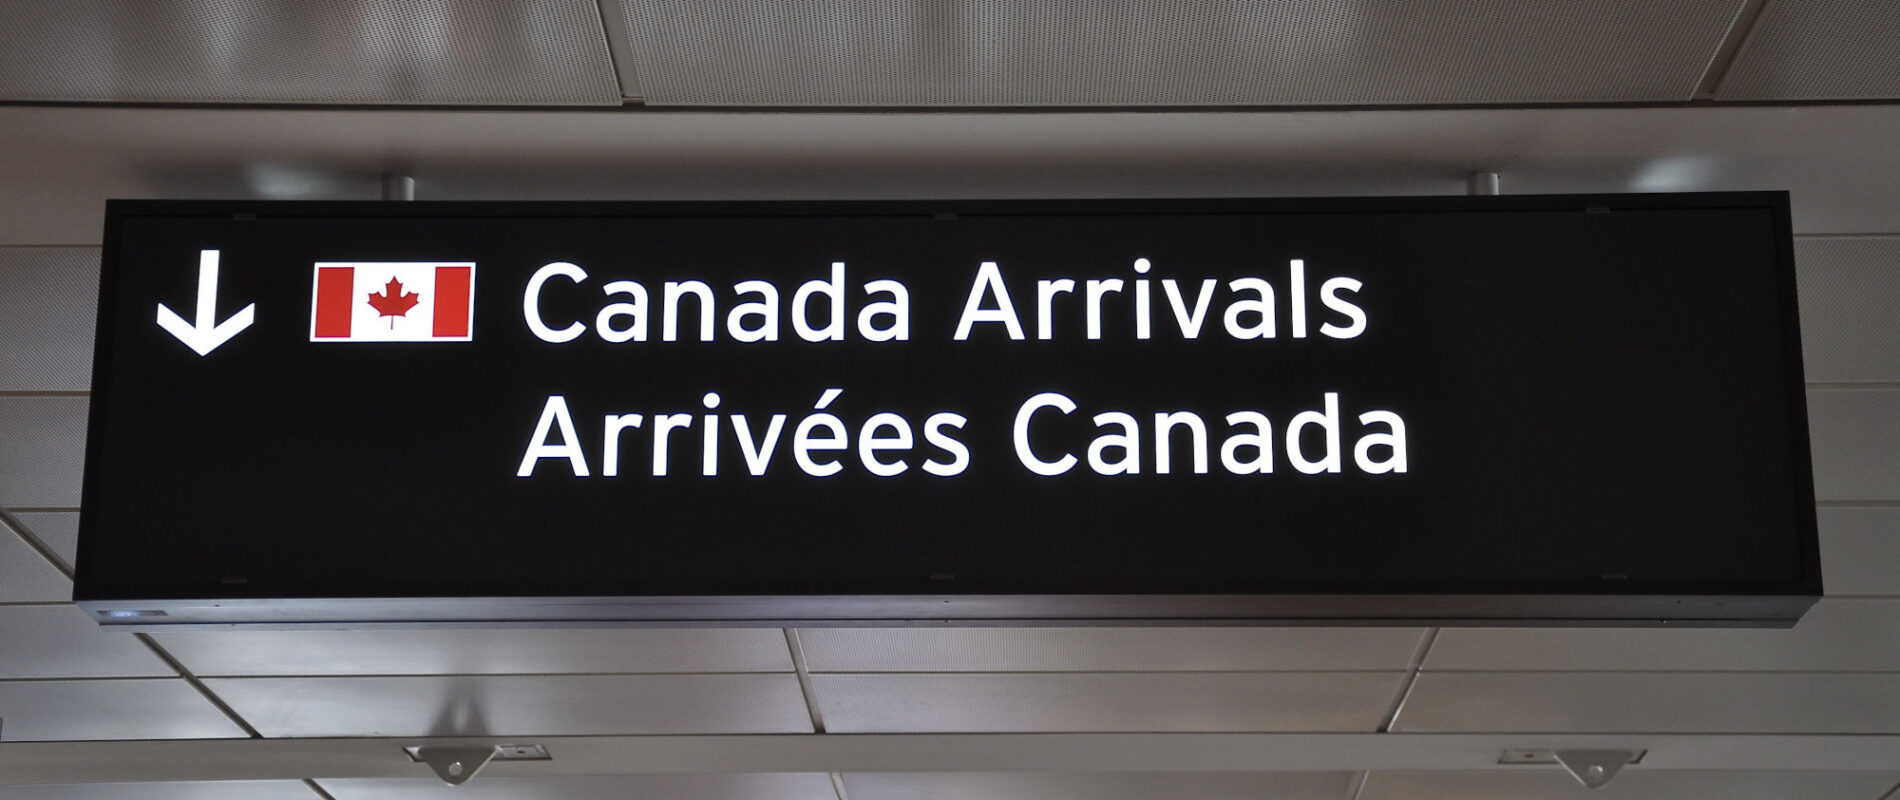
Landing in Canada
The travel declaration process
When you arrive in Canada, you will be directed to a primary inspection kiosk to fill out your travel declaration. All travellers go through this step, Canadian citizens and foreign nationals alike.
Scan your passport, have your picture taken, verify your fingerprints and complete your declaration. It will be printed right away. Bring it to the border services officer.
You also have the option of completing this in advance using the Advance Declaration in the ArriveCAN app up to 72 hours before your flight.
Going through immigration
With your travel declaration printed, you will join the queue for passport control. Border services officers at this stage usually ask a few basic questions and check your passport. When they ask the purpose of your visit, state that you’re here to activate your IEC Working Holiday permit.
You should then be directed to a separate section for immigration, often in a different room or office. Especially in the larger airports, you may have to join a long line. If the officer forgets to direct you to the immigration office, ask for help! You do not want to accidentally be admitted into Canada as a visitor.
When it’s your turn in the immigration office, a border services officer will call you up to a booth. They will take the time to review your documents and then issue your IEC Working Holiday permit, which is a piece of paper.
Carefully review your Working Holiday permit
Once your permit is issued, you should take a few minutes while still in the immigration office to carefully review your permit and make sure all the information is correct.
This is what it looks like. If you notice any errors, request a correction immediately.
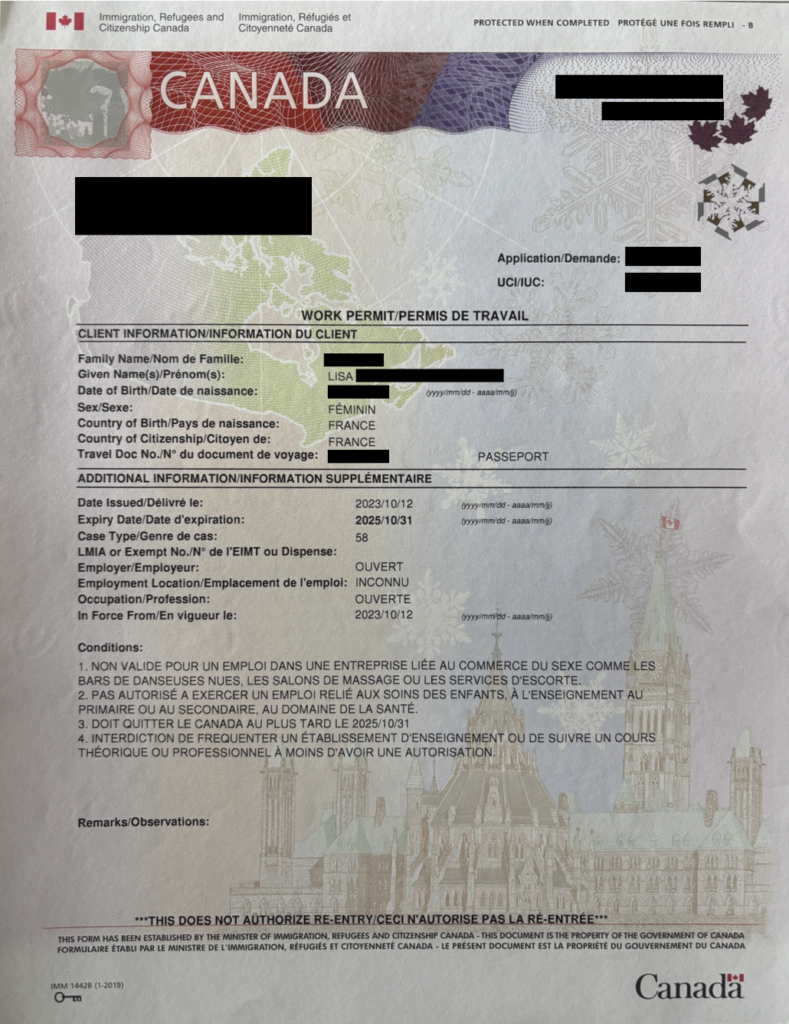
Pay close attention to:
- Your personal details, including name and date of birth.
- The permit expiry date. If it is shorter than what applicants of your citizenship are entitled to, flag it right away. Otherwise, the application process for extending an incorrect expiry date can take a long time.
- The conditions. For example, if you took a medical exam to work in healthcare or with children, make sure the condition “not authorized to work in childcare, primary/secondary education, health service field occupations” has been removed.
Once you have your IEC permit in hand, congratulations, you are officially considered a temporary resident of Canada! You’ll have many things to do to get settled in your new life. Read our article titled Working Holiday in Canada: Do These Things During Your First Month.


0 comments
{{like.username}}
Loading...
Load more